Starting a bathroom remodel can feel overwhelming, yet it becomes far more manageable with a clear plan. Here, you’ll find the step-by-step process used by homeowners and contractors throughout the United States. You’ll learn how to define the project scope, set a budget, and organize the work from demolition through the final hookups.
See Maple Valley Bathroom Remodeling Experts
Expect a few surprises, such as long lead times for glass enclosures, hidden floor rot, and decisions that affect plumbing and electrical layouts. Brand and material selection also matters a great deal. Products like Schluter® tile trim, RedGard waterproofing membrane, Hansgrohe faucets, and Woodbridge toilets are worth considering during selection.
Before contacting contractors, sketch out your ideal layout. Prioritize the acquisition of long-lead items such as vanities and specialty stone. Plan ahead for temporary bathroom access as well, whether that means a shower or toilet setup. If you want a contractor-led process, Renovate Builders can provide oversight that helps reduce expensive rework and structural surprises.
Main Takeaways
- Begin with a clear scope so the bathroom renovation stays focused and scope creep is avoided.
- Prioritize long-lead purchases—vanities, glass, and specialty stone—early in the bathroom makeover.
- Sequence work: demolition → rough-ins → finishes → final connections for a smooth process.
- Be alert for hidden damage during demolition, and leave contingency in the budget.
- Choose trusted brands like Hansgrohe and Schluter® for reliable fixtures and systems.
Planning Your Bathroom Renovation: Scope, Budget, And Timeline
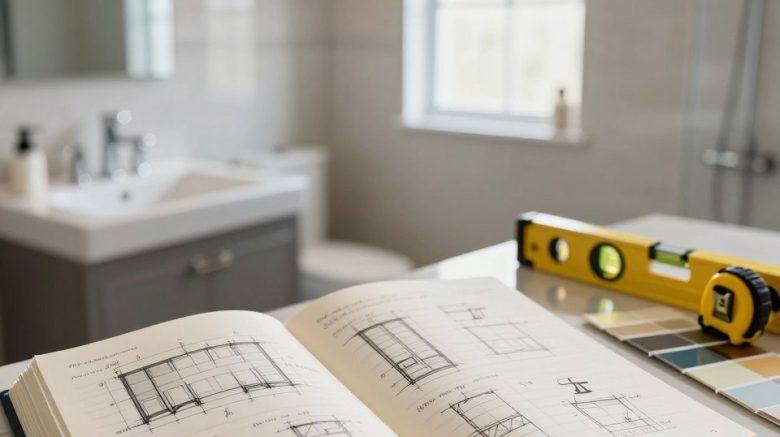
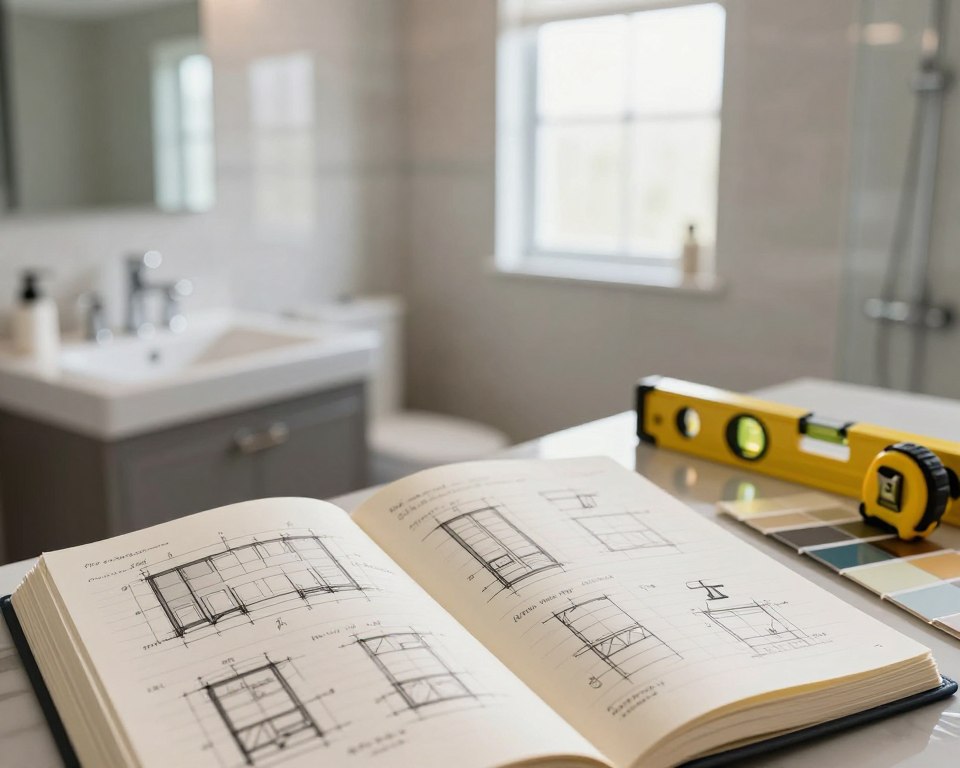
Before you begin, it is important to have a clear plan in place. Define the desired ambiance and functionality of your bathroom. Save photos of designs you like, especially ones that highlight finishes, storage solutions, and accessibility features. Figure out whether you want a full overhaul, a spa-style transformation, or just a lighter refresh with a new vanity and paint.
Sketch a basic layout to assess feasibility. Early drawings help contractors identify structural limitations, plumbing needs, and joist capacity for a soaking tub. Older homes may present challenges like uneven floors and sloped ceilings, affecting both time and budget. Give your contractor the plans and measurements so they can prepare a more realistic estimate.
Set your budget and include a 10–20 percent contingency for surprises. Pinpoint major cost drivers like plumbing changes, tile work, custom stone, and glass enclosures. For a rough estimate, research costs for similar homes and consider local labor rates.
Secure essential products like vanities, custom glass, and specialty stone early so the schedule is not delayed. Homeowners often face weeks-long waits for custom glass and stone. Early planning helps maintain a tight schedule and controls costs.
Develop a detailed project timeline with milestones like demolition, plumbing and electrical rough-ins, insulation and drywall, tile and glazing, and final installations. Plan inspections carefully, since they usually need to happen before insulation and drywall go in. Include buffer days for deliveries and permit approvals.
Think through temporary living arrangements while the renovation is underway. You might use a neighbor’s shower, install a temporary shower, or phase the work so one bathroom stays usable. Talk through these arrangements with your contractor so the work can be sequenced more effectively.
Go to showrooms such as Fitzgerald Tile to view tile samples and grout colors in person. Check salvage yards and stone yards for leftover materials if you want to reduce costs. These steps, combined with your research, will help maintain your style and budget.
When your goals, budget, and timeline are clear, every trade has better direction. This clarity minimizes surprises, allows efficient scheduling, and keeps your project on track toward your desired bathroom design.
How To Approach A Bathroom Remodel
Start with a walkthrough of the space using a tape measure and labeled photos. Identify water lines, electrical runs, door swings, ceiling angles, and natural light sources such as skylights. A quick survey like this helps you understand the room before choosing options or collecting estimates.
Assess The Current Layout And Feasibility
Measure fixture distances and take photos from multiple angles. Confirm where the supply and drain lines run behind the walls and below the floor. For bigger layout shifts like a tub-to-shower conversion or vanity relocation, bring in a contractor to assess plumbing access and structure.
Search for hidden damage such as rot, mold, or joist trouble because those issues can affect both price and timing. Smaller bathroom projects are often limited by plumbing stacks and venting requirements. Determine what can be changed without triggering costly plumbing reroutes.
Determine What To Keep, Replace, Or Relocate
Keep items when moving them costs more than their value. In many remodels, leaving the toilet and vanity where they are saves time and money.
Replace fixtures that no longer perform well or that look dated. Modern, water-saving toilets and low-flow fixtures can cut utility costs and boost appeal.
Only move fixtures after a contractor confirms that the plumbing and electrical changes are feasible. A practical example: converting a tub into a walk-in shower and adding cabinetry above a stacked washer/dryer can free floor space, while the vanity and toilet might remain due to relocation costs.
Decide Between DIY And Professional Help
Identify which tasks are safe for DIY and which ones clearly need a pro. A DIY bathroom remodel can reduce costs for demolition, painting, and simple installations. For a moderate project, expect at least a month of work and include a dumpster rental in the budget.
Hire professionals for plumbing, electrical, structural changes, complex tile, and permitting. Skilled tilers and plumbers prevent rework. Large-format tile installation and wet-area waterproofing require both accuracy and experience.
For a DIY approach, make sure you have proper safety equipment, drills, saws, caulking tools, shop vacs, and rentals such as a tile cutter or wet-dry vac if needed. Create a clear scope and schedule to avoid scope creep during the bathroom remodeling process.
| Decision Area | DIY Suitable | Professional Recommended |
|---|---|---|
| Demolition and waste removal | Yes—if you have safety gear and disposal plan | No—for major structural teardown, hire professionals |
| Moving plumbing lines | No—basic fixture replacement only | Yes—permit and code compliance required |
| Electrical upgrades | No—DIY is not advised for new outlets or circuit work | Yes—use a licensed electrician so the work is safe and inspection-ready |
| Installing tile | Yes—for smaller and simpler layouts | Yes—professional help is best for large-format tile, wet areas, and intricate patterns |
| Finish painting and trim | Yes—this is commonly handled as DIY work | No—except when specialty finishes or detailed millwork are involved |
| Tips for small bathroom remodels | Consider wall-mounted fixtures and floating vanities | Consult pros for shower conversions and waterproofing |
Demolition And Preparing The Space
Start demolition with safety and clarity in mind. Begin by shutting off the water, draining the lines, and taking out the toilet to reduce the risk of spills. Protect yourself with gear like gloves, goggles, and a respirator. A reciprocating saw can help make precise cuts near insulated areas.
Rent a dumpster that fits the demolition debris to maintain a clean site.
Remove fixtures, vanities, mirrors, and flooring in a systematic order. Document everything with photos and measurements before removal. Doing this makes later fitting and installation more accurate. Use drop cloths and dust barriers to protect adjacent rooms and floors, reducing cleanup and dust spread.
Safe Demolition Practices
Start by isolating utilities and capping any open lines. Taking out the toilet and vanity early helps clear the work area. Do not aggressively hammer into insulated walls; when possible, cut around studs and fasteners instead. If fixtures will be reused, label and bag them for faster reinstallation.
Inspect And Fix Concealed Damage
After removing finishes, inspect for rot, mold, and water damage behind tile and under subfloors. Soft subfloor sections often have to be replaced. Large-format tile often necessitates a flatter substrate, so add cement board or self-leveling compound as needed.
Damaged framing or structural components should be reviewed by a structural contractor or licensed engineer. Fixing studs and headers early helps keep the project moving and avoids delays later during finish work.
Permit Process And Inspector Coordination
Permits for electrical, plumbing, or structural work should be in place before rough-in starts. Book plumbing and electrical rough-in inspections before insulation and drywall are installed. Clear communication with inspectors helps prevent delays that could stop finish work from moving forward.
You may want to hire an experienced contractor to manage permit filings and inspector coordination. Local code knowledge usually helps a contractor move approvals along and keep the remodel progressing.
Think through temporary bathroom access during the remodel. Ensure at least one accessible bathroom in the home or nearby. Temporary options may include using a neighbor’s house or bringing in a portable unit during the heaviest disruption.
Following these suggestions helps manage risk, preserve the schedule, and make inspections and repairs more reliable. Well-planned demolition and prep work make the remodel more efficient and often save money from the rough-in phase to the final finishes.
Plumbing, Electrical, And Structural Rough-Ins
Plumbing, electrical, and structural rough-ins need to be finished before the walls are closed and tile work begins. They set the foundation for the layout, budget, and schedule of the bathroom renovation. These steps are central to a successful remodel.
Plumbing Factors And Their Effect On Layout
Choosing the right fixtures is essential. Options like wall-mounted faucets, deck-mounted faucets, single or double vanities affect water line and valve placement. A new shower or tub-to-shower conversion also depends on correct drain positioning and slope.
Before installing a soaking tub, verify that the joists can support the weight. A structural engineer or a licensed contractor may suggest reinforcement or beam replacement to support the tub’s weight.
Planning Electrical Work And Lighting Upgrades
Electrical planning should include any added circuits for fans, fixtures, or heating components. Options like Lutron Caséta switches or Echo Dot integration can add both convenience and efficiency.
Place outlets near the vanity area so daily use is easier. Define lighting zones for task, ambient, and accent lighting to prevent glare and dark spots. Use a licensed electrician for the work, and schedule inspections before the walls are closed.
Subfloor And Structural Work
Make sure the subfloor is properly level. A very flat base is especially important when you are using large-format floor tile. Self-leveling compound or multiple cement board layers may be necessary if you want to reduce lippage.
Swap out damaged sections of subfloor and seal thresholds so water cannot enter easily. Protect stone surfaces, like quartz countertops, from water and etching by ensuring correct slopes and finishes.
The order matters: finish plumbing and electrical rough-ins before moving on, and pass inspections at that stage. Proceed with insulation, drywall, and tile work. Ordering the vanity in advance helps match the rough-ins to final countertop openings and fixture positions.
Finishes: Tile, Waterproofing, Paint, And Fixtures
The finishes you choose strongly affect both the look and performance of the remodel. Begin the finish stage by choosing tile in person rather than only online. Hold tiles up to light, lay them in the intended orientation, and check grout and Schluter® trim options. Suppliers like Fitzgerald Tile can help match grout color and trim for a cohesive look.
Installing tile requires a thoughtful plan. Make sure the substrate is dry, stable, and level before installation. Use cement board in areas that require a stronger tile base. Mix thin-set consistently and use laser levels for accuracy. Employ spacers or leveling clips for uniform joints. For large tiles, two installers are recommended for better control.
Waterproofing is essential for long-term performance. Install a pan liner beneath mortar on shower floors and ensure proper slope to the drain. Wall protection should include cement board and a liquid membrane like RedGard. Set the shower controls where users can reach them without stepping into cold water. Measure for glass enclosures early, as lead times can extend your project.
Paint and trim help complete the room once the tile phase is done. Use semi-gloss or moisture-resistant paints. Test small samples from retailers like Lowe’s before buying. Sherwin-Williams Snowbound is one possible bright field color, and darker trim can provide contrast. For cleaner edges, use tile trim like Schluter, or select quarter round or baseboard where tile transitions to painted walls.
Choose fixtures that fit both the design and the rough-in conditions. Confirm that Hansgrohe faucets and shower systems match the rough-in positions. Double-check all dimensions and compare them to the manufacturer spec sheets. Brands such as Woodbridge can be solid choices for dependable toilets. For stone thresholds and sills, check Mass Granite or local stone yards for leftover slabs to save on cost.
Keep these renovation tips in mind: match grout and trim during tile selection, plan waterproofing before the finishing trades, and verify fixture dimensions early. Following those steps can reduce callbacks during the makeover and support smarter design decisions that last.
Cabinets, Hardware, And Final Connections
Finish work is the final stage of your bathroom makeover. It involves setting the vanity, attaching countertops, fitting storage, and making the last plumbing and electrical connections. It’s essential to plan the sequence to ensure plumbers and electricians can complete their work before you start installing cabinets and surfaces.
Start with the vanity so plumbers have time and access to adjust the piping. Make sure any wall-mounted faucets line up correctly. Measure sink layouts and wall clearances carefully. Preselected stone or quartz slabs should be checked for slope so standing water and etching are less likely.
As cabinets go in, make sure the frames are level and securely fastened to studs. If you’re doing it yourself, dry-fit doors and drawers before final fastening. A bathroom renovation contractor can expedite this process and avoid costly errors.
Fit storage solutions that match your needs and scale. To maximize space, consider built-ins, floating shelving, or cabinetry over the washer area. Coordinate mirrors and medicine cabinets, like the Pillar-30 by Blossom, for a cohesive look. Smart features such as Lutron Caséta switches and Echo Dot speakers can also be added for integrated control.
Wait until tile, flooring, and trim have cured before installing glass and fixtures. Schedule the glass shower enclosure after grout and trims are complete. Keep custom-glass lead times in mind and arrange temporary shower access if needed.
Install shower doors, seals, and grab bars carefully so leaks are avoided. Where required, use sealed fasteners and follow the manufacturer’s torque specs. Check that sliding or swinging doors operate smoothly and have even clearances.
After tile installation, grout should be applied and sealed whenever the specification requires it. Color-matched grout can help create a more unified visual finish. Caulk all junctions between fixtures, trim, and tile with appropriate silicone sealants to prevent water intrusion.
Allow full cure times before exposing surfaces to water. Follow product instructions for grout sealer and silicone cure windows to protect finishes and warranties.
Do a final walkthrough with the contractor and create a punch list for items like grout fixes, paint touch-ups, or trim alignment. Arrange final plumbing and electrical inspections and obtain sign-offs before you move in.
Make sure warranty details are documented, and ask for care instructions for quartz and grout. To finish the makeover, add details like bath rugs, greenery such as a peace lily, and coordinated accessories from retailers like Crate & Barrel, Amazon, or Wayfair.
Final Thoughts
Embarking on a bathroom remodel requires clear planning and a realistic design. Set your goals and draw layouts before you begin buying materials. Establish a budget that includes a contingency for unexpected expenses. Early decisions on style and scope streamline the process and help estimate costs accurately.
Check feasibility and permit requirements before you start demolition. Use demolition as a chance to inspect concealed systems, then schedule plumbing, electrical, and structural rough-ins. Working with experienced professionals—such as a licensed contractor or a company like Renovate Builders—can reduce costly mistakes. It also helps ensure that all trades, including tile and structural crews, meet code and inspector expectations.
Put emphasis on lasting materials and smart timing. Order long-lead items, like vanities, custom stone, and glass, well in advance to avoid delays. Make waterproofing, accurate tile preparation, and proper sealing top priorities if you want long-lasting results. A strong sequence is demolition and inspections first, then rough-ins, then waterproofing and tile, and finally the last installations and inspections.
Use this guide to plan your timeline and budget. See materials in person at showrooms, and consult a licensed contractor regarding permit requirements and structural evaluation. Adhering to these steps will help manage costs and achieve a safe, functional, and attractive bathroom.